
LedBorg - An ultra bright RGB LED add on board for your Raspberry Pi
If you want to use the old driver based installation go here.
Installation
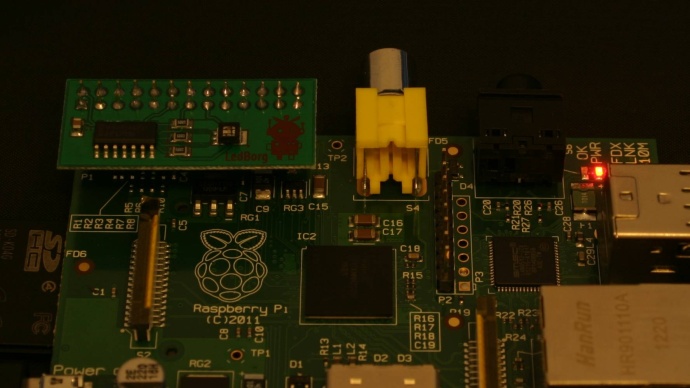
First you should make sure the Raspberry Pi is not powered (none of the LEDs are on).Now plug the LedBorg in to the GPIO header, making sure the PiBorg logo is towards the centre of the Raspberry Pi as shown below:
If you previously installed the driver based version of LedBorg you can stop it from loading by using the command:
sudo update-rc.d ledborg.sh removefollowed by a restart of the Raspberry Pi, or you can follow the instructions here to remove the driver completely.
The only thing we need to install to make these scripts work is WiringPi 2 for Python.
We can get WiringPi 2 by using easy_install, which you can get under Raspbian using the following commands:
sudo apt-get updatesudo apt-get -y install python-dev python-setuptoolsWith easy_install we can install WiringPi 2 by using the following command:
sudo easy_install wiringpi2Now we have everything we need to run LedBorg installed, but how do we use it?
Using LedBorg from Python
Using LedBorg from Python scripts is made easier by using the WiringPi 2 library, these examples will get you started.Installation of the new LedBorg software (you are here ^_^)
Lesson 1. Our first Python example
Lesson 2. Simplifying the code
Lesson 3. Produce a sequence of colours
Lesson 4. Taking user input
Lesson 5. Brightness levels (PWM)
Lesson 6. A simple dialog (GUI)
Lesson 7. Using a pre-made dialog
If you would like a more detailed understanding of Python, the Try Python website is a great online resource with their interactive online tutorials.
The examples tab contains examples of how you can take LedBorg and make it do fun things, like checking for updates or monitoring temperature.
Continue to lesson 1. Our first Python example.

